April – Embroidery Tutorial – Short/Long Stitch
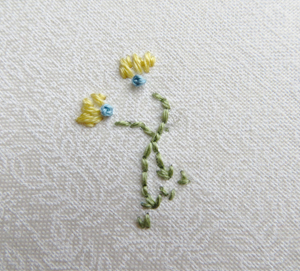
You don’t need to know a lot of fancy stitches to make a pretty flower. These pretty flowers are great embellishers! The tops do not touch the stems, and they look great in clusters of different colors.
We will make a simple flower using short/long stitches. The stitch this month is the short/long stitch but but will add a colonial knot and back stitches so you can complete the entire flower.
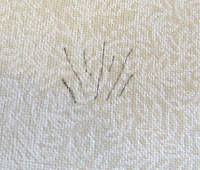
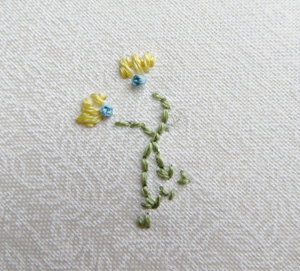
If it helps to draw these stitches first, do so! You want your flower to resemble something like this: I start with a short and end with a short.
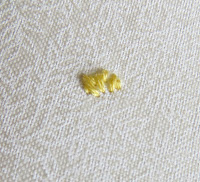
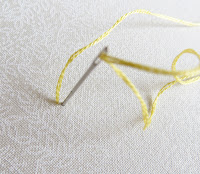
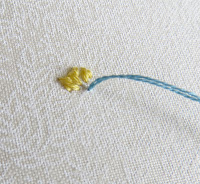
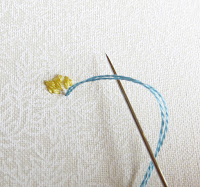
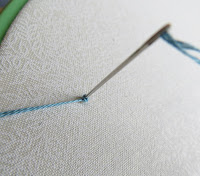
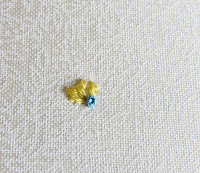
1. Bring the needle up through the back and make a short stitch. Bring the needle up again, slightly higher and make a long stitch. All stitches are pointing down in the same direction, but I do not go back down the same hole. Completed top.
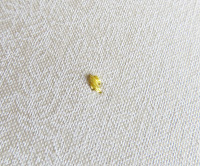
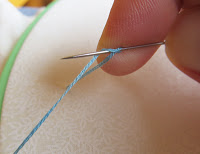
2. Let’s add a Colonial knot to this. Bring the needle up where you would like it to be, right in the middle, but not touching the flower top. Put the needle under the thread, and wrap once, holding, and put the down through close to where you came up, still holding taut the wrap. Go slow while pulling through. If you make a knot on top, you aren’t going to be getting it out. Done!
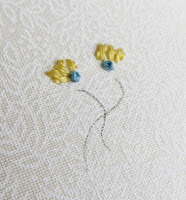
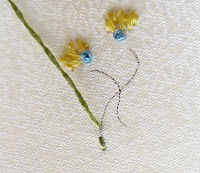
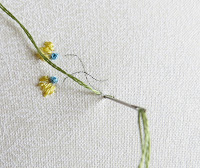
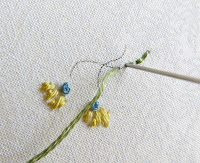
3. Make as many of these in clusters as you need. Add stems. Use the back stitch to complete the stems. I draw my stems with a very thin micro pen. For a back stitch, come up 1/8″ away from the end. Bring down behind it. Come up again 1/8″ in front of the last stitch and bring down the needle down in the same hole. Keep stitches even. Add a few stitches (seed stitches) to resemble grass. Now how about adding the leaves we learned last month?


