English Paper Piecing: Hexagon Flower Tutorial
Here is an easy English paper piecing hexagon flower tutorial. Making hexagons is very pretty and very versatile. Hexies, as they are known, can be put on many projects.
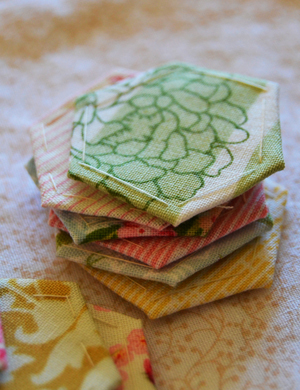
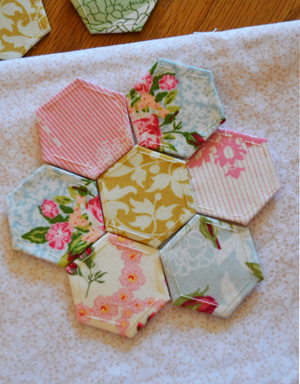
I started learning about English paper piecing last fall, and I love it! There is not a simpler hand-sewing technique for quilt piecing and pretty applique pieces such as these flowers. It goes quickly, and it’s a sewing project I can sit in bed at night and work at.
These paper pieced flowers are meant for applique, and can be appliqued to anything – quilts, blankets, tea towels, baby clothes. I will be using this flower for one of the baby bibs I’m working on.
You need very little fabric, so it’s great for using up that always-growing stack of fabric scraps. I’m using a 1 1/2″ hexagon template.
Hexagon supplies:
- fabric scraps, coordinating colors
- small size sewing needle (I was using a #8 embroidery needle)
- neutral cotton thread
- embroidery/small scissors
- 1 1/2 hexagon template or ruler
Hexie Instructions
Cut out the paper hexagons – you will need 6 paper hexagons for one flower. Now to cut the fabric: Lay the paper hexagon on a small square of fabric (with plenty of room to cut around still), cut 3/8″ around the hexagon to give a seam allowance. Most will recommend a standard 1/4″ seam allowance around the hexagon, but I prefer a little more.
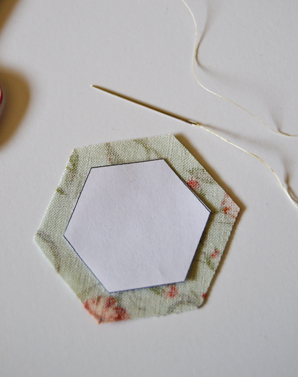
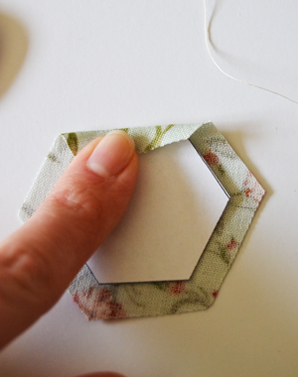
Thread the needle and knot the end.
Use a single pin to hold the paper and fabric together and keep them in place, but I have found that using your fingers to hold it in place as you sew is adequate – the pin tends to get in the way.
Use your finger to fold and “press” the fabric over the edge of the paper.
While holding the paper and fabric together with your thumb and forefinger, insert the needle through both layers, about 1/8″ from the edge and pull through. Bring back up again in the center, the same distance from the edge, and then take the needle back down through to the front.
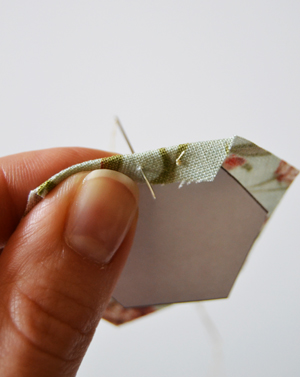
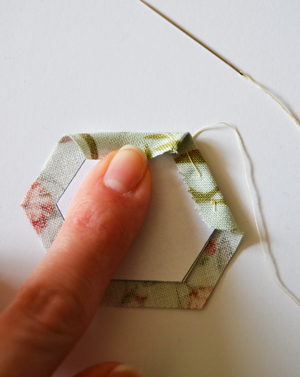
Remember to make sure that you are going through both layers, fabric and paper. This is not a problem if you are working far enough away from the edge. I always stay a scant more than an 1/8″ from the edge.
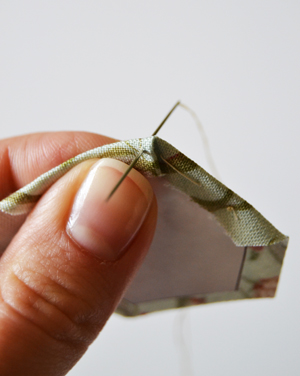
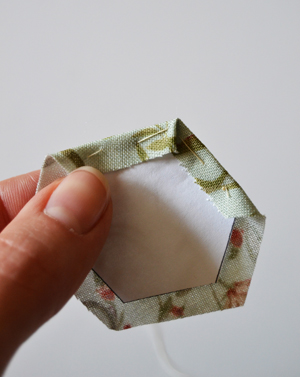
Fold and press the fabric over the next side. Bring the needle back up, making sure to catch the corner fold to secure it.
Continue to baste along the edge as you did the first side. Repeat the steps for folding and pressing the fabric around the edges of the paper, and then basting. Finish off with a knot.
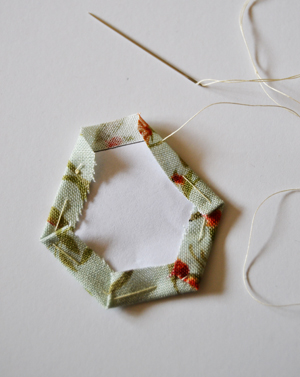
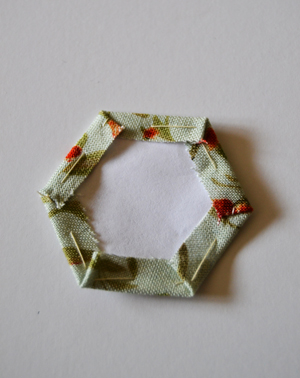
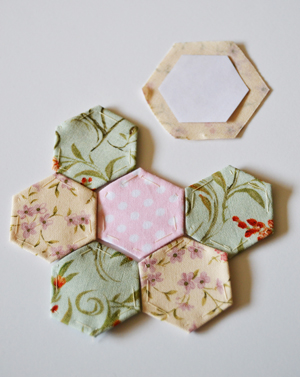
Connecting All the Pieces
Connecting the hexagons is as simple as whip stitching together a puzzle! Lay out all your pieces. Thread your needle and knot the end. Take two hexagons to connect, place them right sides together, aligning the edges.
To hide the knot: Slide the needle under the seam fold of the hexagon facing you – under the seam fold, but over the paper – bring the needle out through the fold edge.
How to Whip-Stitch Hexies
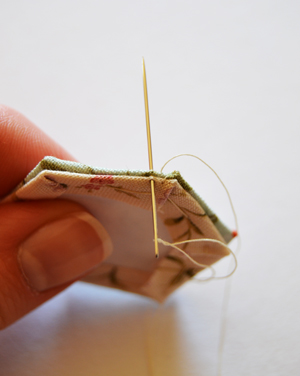
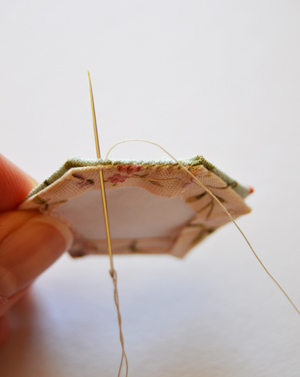
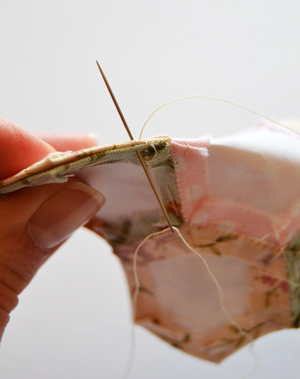
Now, ready to whip stitch! Insert the needle through the very edges of the fabric folds. Don’t catch the paper with the needle – pull through. Continue along the edge with the whip stitch as shown.
Whip stitch right to the end… on the last loop, insert the needle through the loop and pull to make a quick knot. First side done! Now, what do you do?
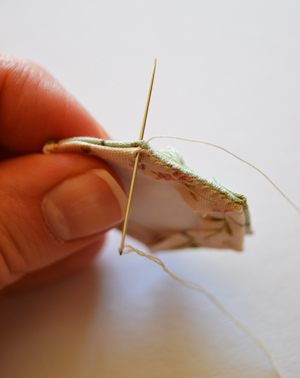
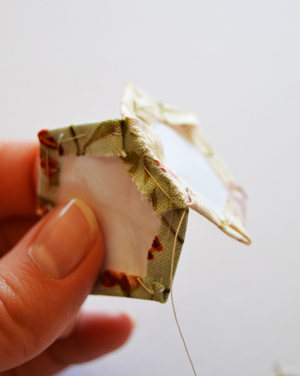
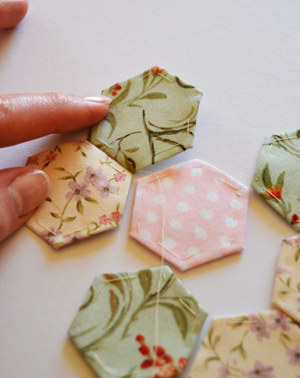
Lay out your pieces flat again. I chose to add the middle piece of the flower next. Lay the middle piece right sides together with one of the other sides as shown.
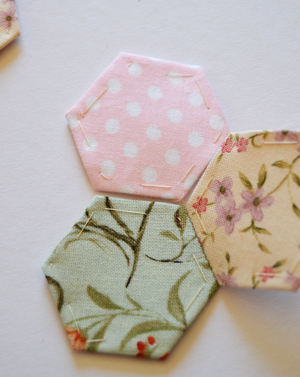
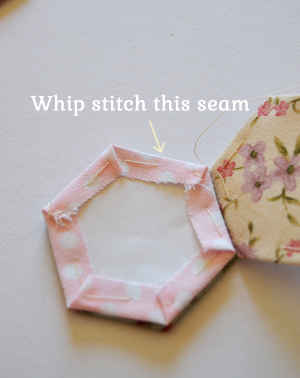
Whip stitch along the seam, as shown. The hexagon flower is coming together!
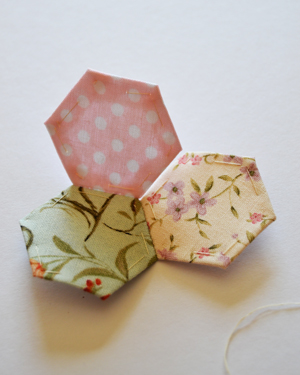
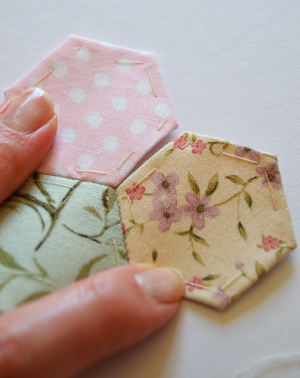
Now, you are going to attach the third open seam. Fold the hexagons right sides together and align the edges. Whip stitch to the end, and fasten off with a simple loop knot.
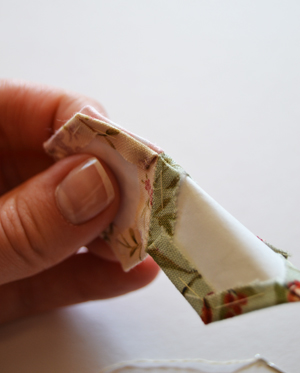
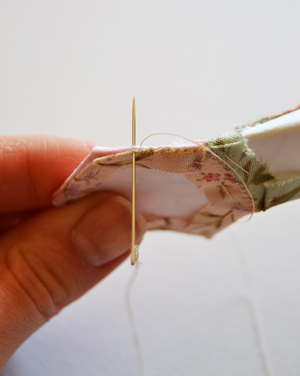
Three connected hexagons! Continue in the same way, repeating the steps to connect the remaining hexagons.
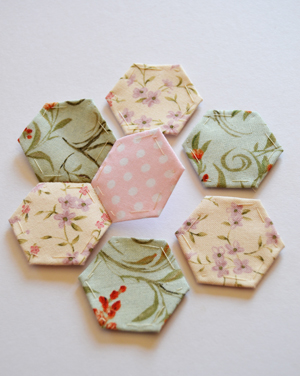
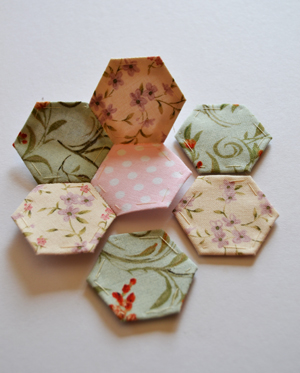
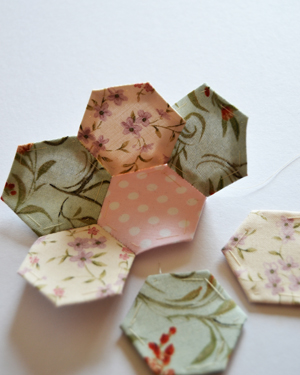
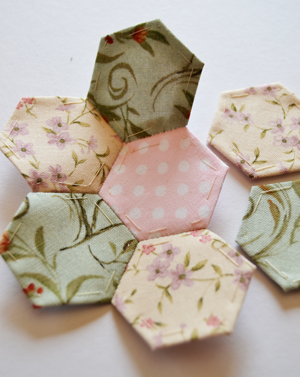
You should have the hang of whip-stitching the hexies by now! Just keep moving from side to side. Leave the template papers in as you sew. You will remove the papers when you’re finished.
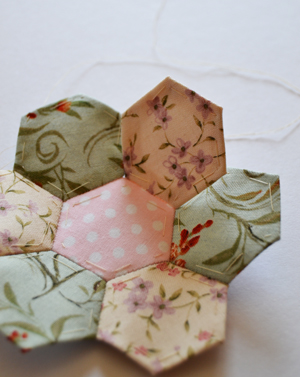
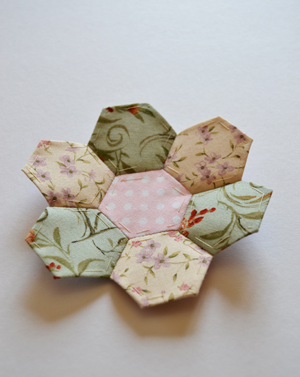
The front and the back are now finished. English paper piecing is beautiful! The hexagon flower is taking wonderful shape!
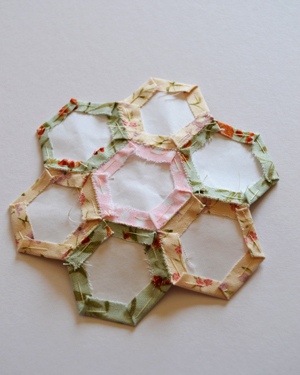
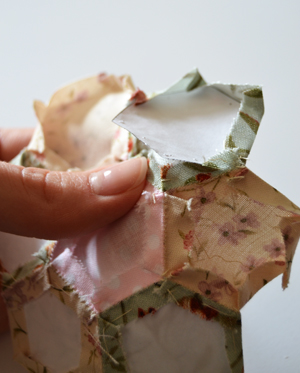
Remove the paper – Cut the basting stitches and pull out the threads. Remove the papers. Don’t worry about the seams getting messy, you will fix that in a moment with an iron!
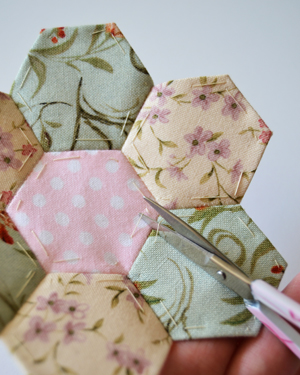
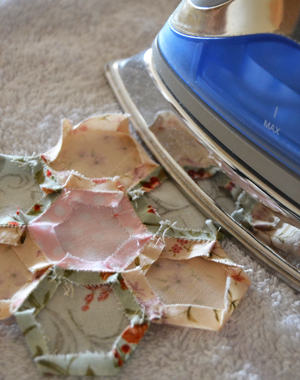
Carefully press with a hot iron. Lay and lift the iron – don’t just run the iron over the seams, you will end up ironing them out! Press until flat and edges are smooth.
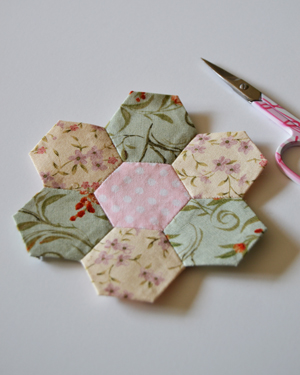
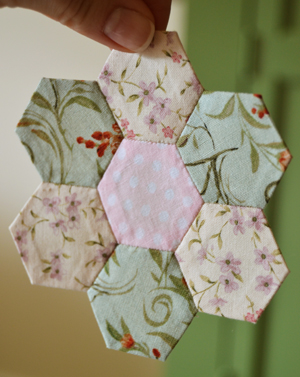
I hope this tutorial was helpful! This hexagon flower would look wonderful in some of our fat quarter bundles! Try an autumn or Christmas Farmhouse fabric bundle.
Happy Hexies!
Child of God, Wife to Josh, Mommy to my four sweet children. Thankful for busy days filled with homeschooling, homemaking and loving my little family! And sneaking in sewing and pattern design whenever I can 🙂


