
How to Sew Gathered Sleeves

Making dresses is such a joy! We love customizing dresses, and sleeves are easy to make prettier rather than finishing with plain elastic. If you’ve ever felt stuck, this tutorial, How to Sew Gathered Sleeves will walk you through gathering sleeves and attaching a band, step by step. This method is perfect when you want the sweet, tailored look of gathered sleeves without using elastic.
How to Sew Gathered Sleeves
An attractive option is to gather just the center of the bottom sleeve when adding a band.
Gather Sleeves
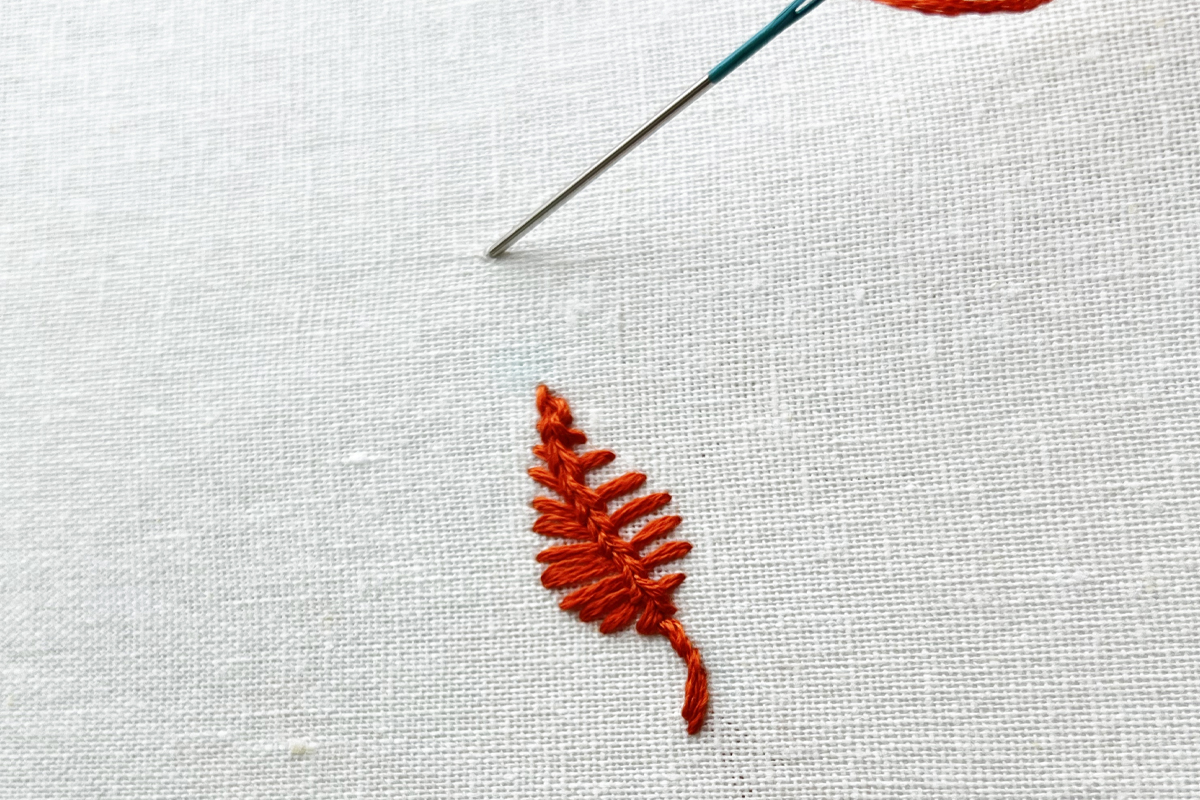
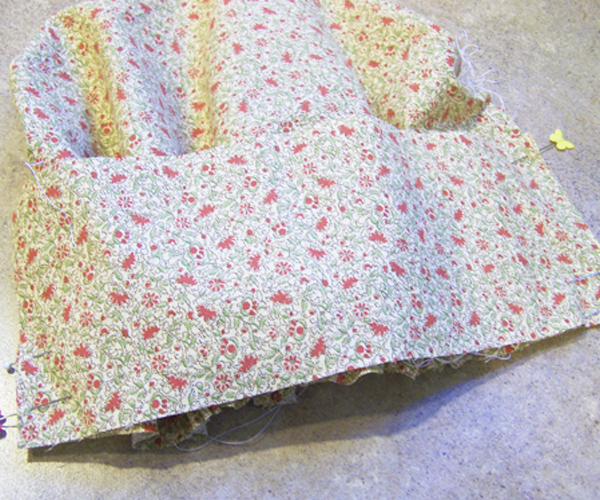
Your sleeve bottom will be twice the size of the sleeve top. First, run gathering stitches on the bottom center of the sleeve. Most machines have a ‘basting’ stitch or long stitch. Or you can run long stitches by hand. Leave plenty of thread at the beginning of the stitch and plenty of thread at the end. You do this by pulling 12″ or so of thread as a tail before stitching, and the same before you cut the thread after stitching.
Mark the center of the sleeve. Run the basting stitches through the center part only, leaving the long threads on each side of the basting.
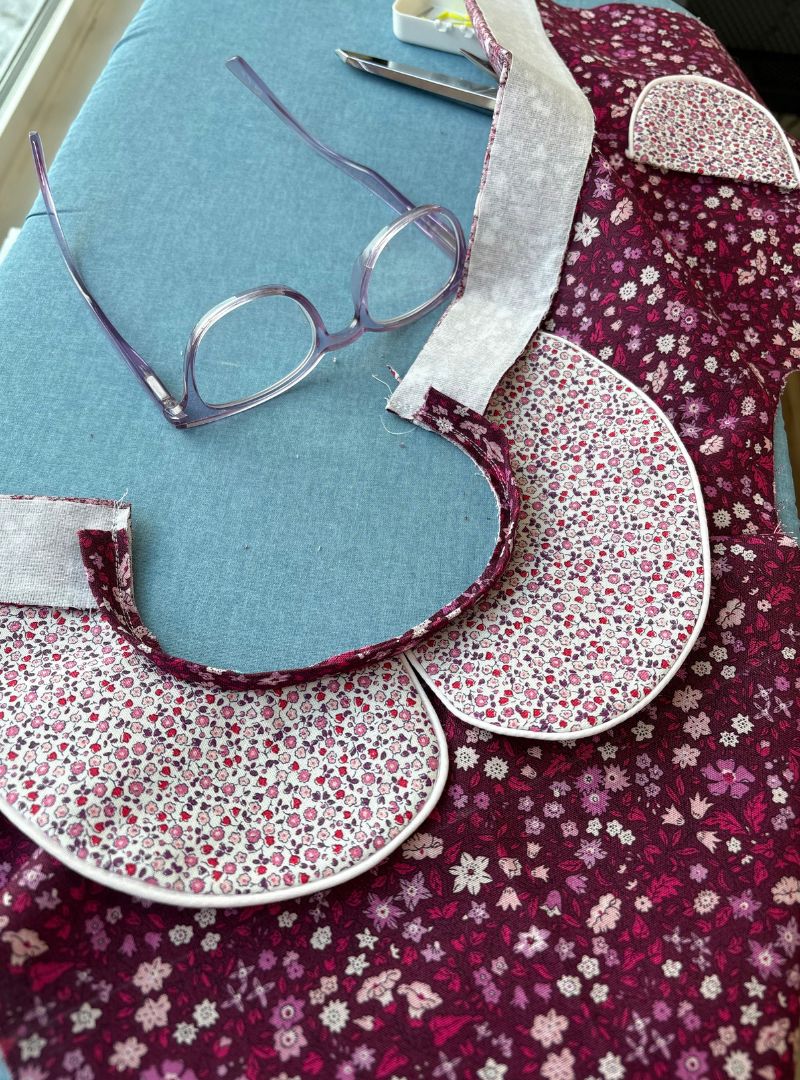
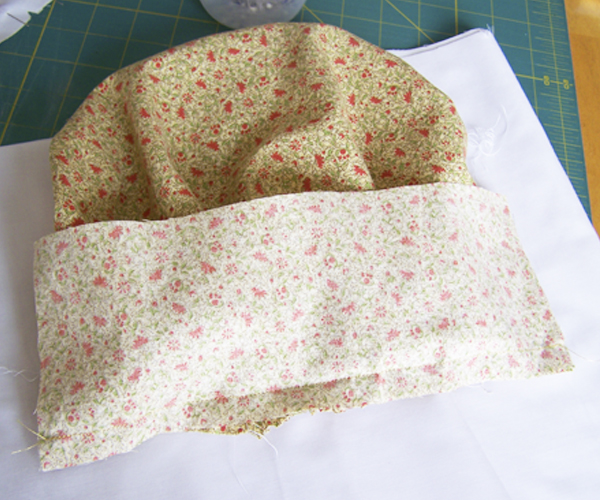
Note – Here, I was using the band to measure and took a photo – not realizing I had the band wrong side down. Do not sew the wrong side of the band to the right side of the sleeve! Make sure you measure with right sides together.
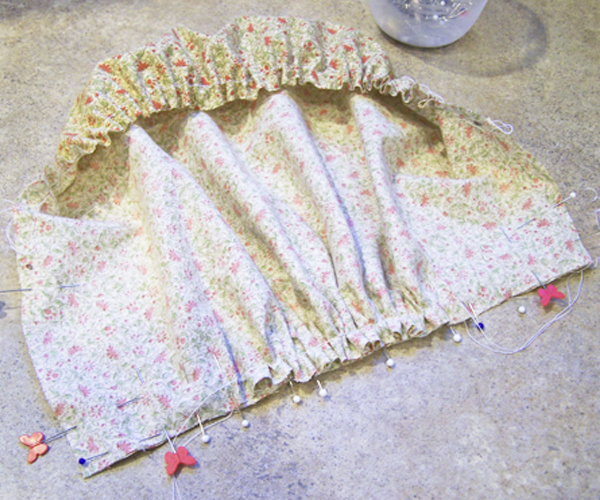
With right sides together, pin the edges, leaving the middle area unpinned and free from the sleeve. Turn over to gather the threads.
Did you know that you only pull the bobbin thread to gather stitches? I always pulled both threads and usually ended up breaking the thread before I was done. Just pull the bobbin thread and you’ll see how smoothly it goes!
Pull the bobbin thread, keep rotating back and forth – peeking under the sleeve to make sure your band isn’t caught or puckered. Take it slow—steady work creates those sweet little gathered sleeves. Once the sleeve looks smooth and fits nicely, tie the threads securely on each side. Pin everything in place.
Now you are ready to sew the seam. I’ve learned a few things since this tutorial on sewing seams. First, you can always use a serger as gathered sleeves can get bulky at the seamline. But, if you don’t have a serger, do this instead – (not shown here) sew the first seam line. Stitch again, right under the first stitching. Trim the sleeve close to the second line, not going through it. Then zig-zag stitch to finish the seam.
Using the technique above (not shown here) will give you a really polished look. And we do this with almost every garment now, when I don’t have my serger out and threaded up. It comes in especially handy under the arms! The only thing I find neater than this technique or a serger, is a french seam.
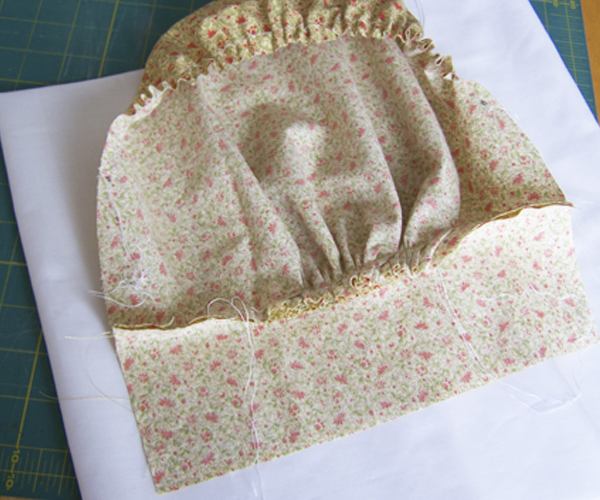
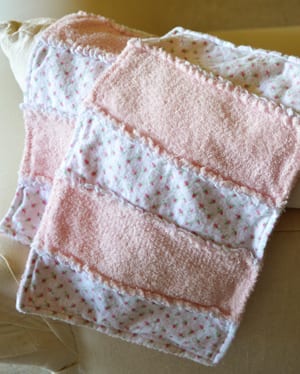
The band is simply part of the gathered sleeves now. This band is great alternative to using elastic to tighten the sleeves.

Once you know how to sew gathered sleeves, experiment with other notions, like piping or ruffles! I’m trying to envision a little ruffle here.
If you’re looking to make a sleeve band neater, try this post on how to Pin in the Ditch to Stitch in the Ditch on top. This techique is perfect when you want to stitch almost an unseen stitching line on a pretty garment. And the sleeve looks more than perfect! Find the tutorial on pinning and stitching in the ditch here.
Theresa