
Half Hexies: A Charming Christmas Tree Table Topper Tutorial
As that lovely time of Christmas begins, my schedule fills up quickly with cooking, decorating, and gathering with family. With our recent move, I didn’t have the chance to dive into a new project as summer ended—but I’d been so eager to use some of my Christmas fabrics with past Lella Boutique and Bonnie and Camille collections for Moda Fabrics that a little spark of inspiration led to Half Hexies: a charming Christmas tree table topper tutorial.
My first thought was to make half hexie trees using the cute half hexie ruler. I then decided to add some house applique and trim. This topper is charm pack and fat-quarter friendly!
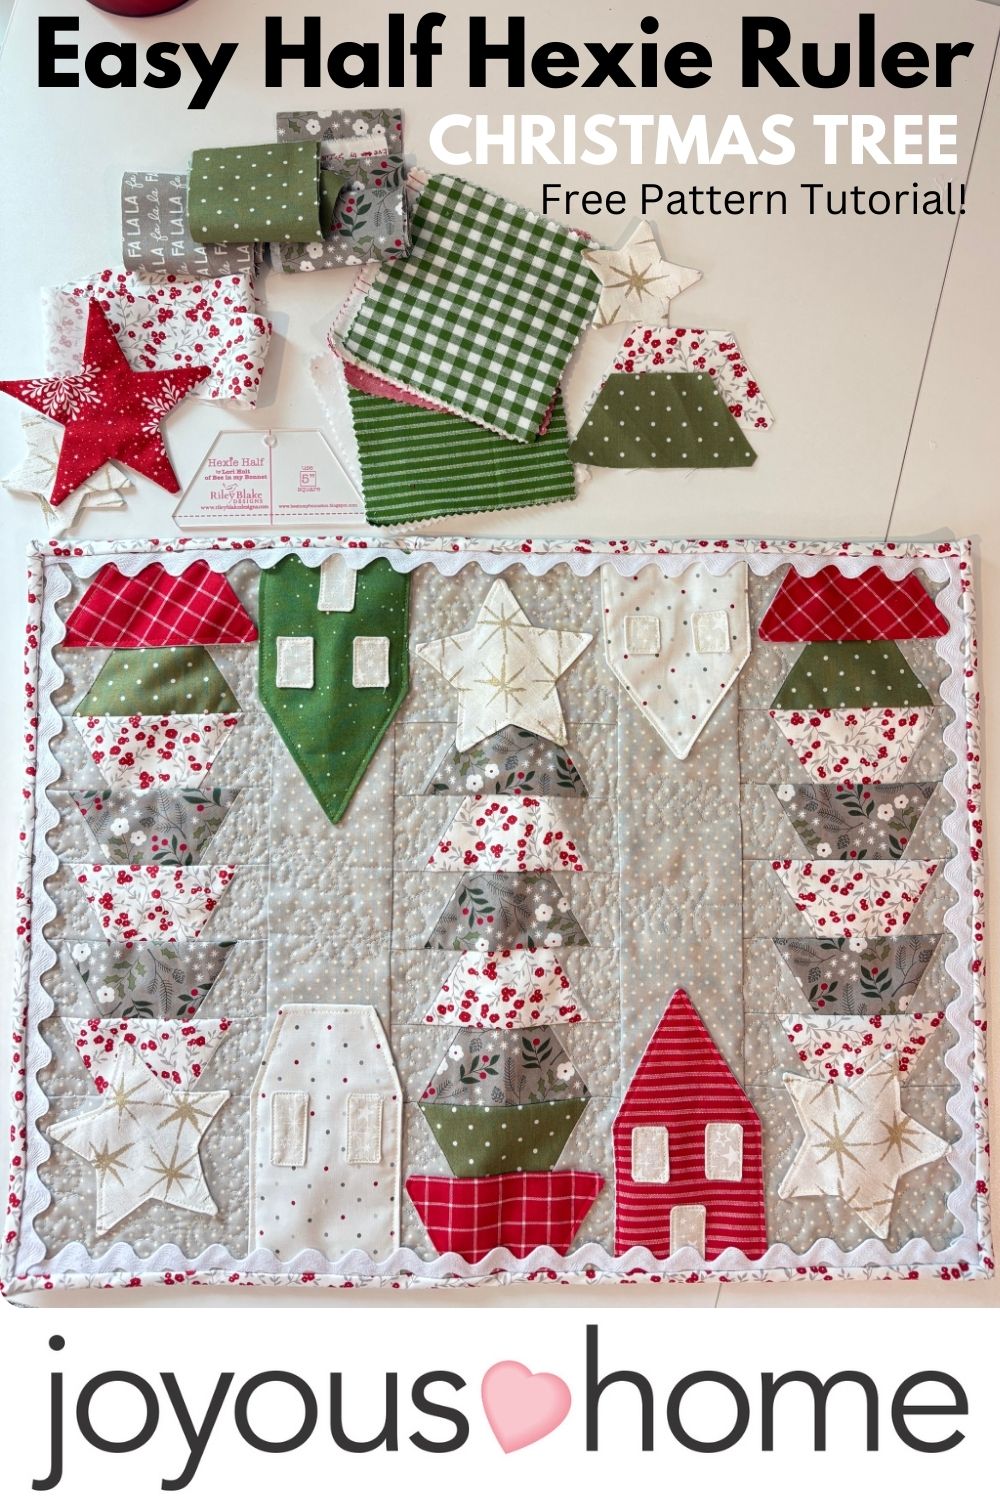
This cute half hexie tree table topper is flexible! You can make one tree or several. The fabric below will make 3 trees with borders, appliqué, backing and binding. This project doesn’t have to be exact to my instructions, you can get as creative as you want!
If you need some help with how-to quilt techniques, see our free videos here.
🎄 Half Hexies Christmas Table Topper
✂️ Supplies Needed
- 📏 Lori Holt Hexie Half Ruler – Grab the set here!
- 🧵 Fabric: Choose your main print fabrics for the trees:
- Trees – Quantity Is Your Choice:
- 1 Fat Quarter of the same main print will make about 18 hexies OR
- 5″ squares of different prints – 1 square will make 2 hexies
- Background for 3 Trees:
- ½ yard (includes tree sides; hexies will also be cut from this print) OR
- Tree sides can be made from scraps or 5″ squares (note that the background above matches my tree side print.
- Appliqué:
- Houses, stars, and tree buckets – use coordinating scrap fabrics
- Interfacing – 1/4 yd. or scrap pieces
- Trees – Quantity Is Your Choice:
- 🎀 Ric-Rac: 3 yards
- 🪡 Batting, Backing & Binding: ¾ yard each
Seam allowance is 1/4″ sewn pieces. Appliqué edges are cut to 1/8″. Finished size is 18″ x 22″.


Merry Little Christmas Charm Pack – Purchase here
Hexie Half Ruler by Lori Holt – Purchase Here
Applique – See Step 6 if you want to use my templates.
Making your applique first can make the process easier once you sew your trees and borders on. All applique is made the same way. If you want to use my templates, see step 6. OR you can simply draw the stars, houses and windows in your favorite graphics program – they are simple shapes!


There are two simple ways to prepare your appliqué pieces:
1. Raw-Edge Appliqué (Quick Method, not shown)
Use this method if you plan to stitch directly over the edges.
- Apply Heat n Bond (or similar fusible web) to the back of your fabric.
- Peel off the paper and press the appliqué shape in place.
- Finish by sewing a decorative stitch around the edges to secure and cover the raw edge.
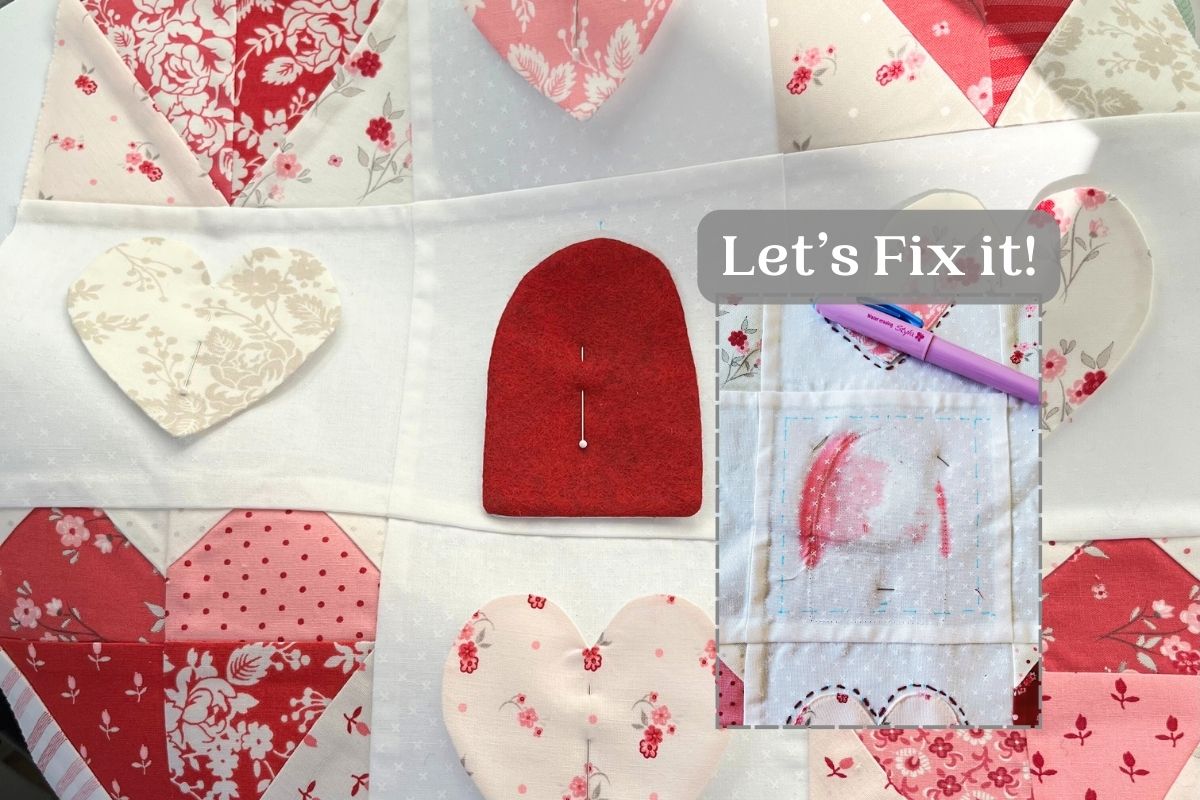
2. Turned-Edge Appliqué (Finished Edge Method)


Use this method for smooth, folded edges with no exposed fabric.
- Trace your appliqué shape onto lightweight interfacing.
- Place the interfacing on top of the right side of your fabric.
- Sew directly on the traced lines.
- Trim the seam allowance to about ⅛”.
- Make a small slit in the interfacing on the back side and turn the appliqué right-side out.
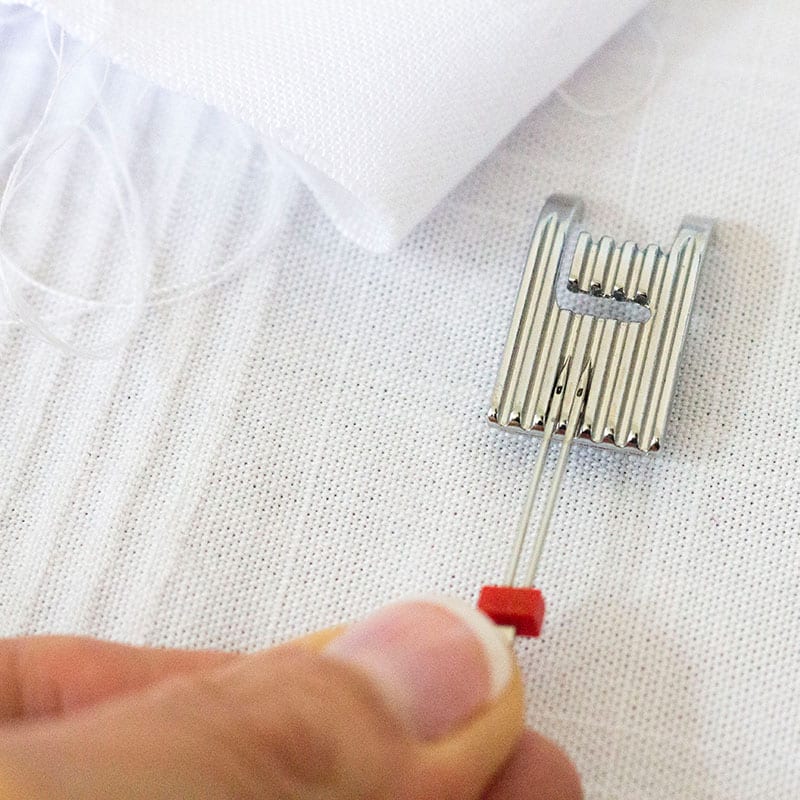
- Use an applique turner to press out edges. Be careful not to poke a hole in your fabric.
- Press well and stitch the finished shape onto your project.
1. Cut Your Half Hexies in Half
Use the Lori Holt Half Hexie Ruler to cut:
- Tree centers from your fat quarter or 5″ squares
- Background half-hexies for the tree sides – Cut in half
- Decide on your color flow: scrappy, alternating, or coordinated


a.) Trace and cut the tree centers
Trace and cut as many center hexies as you need for your trees.
b.) Prepare the background side pieces
Cut one background hexie for each tree side. Center the hexie on your ruler and cut it in half to create two side pieces.
Cutting Tip:
You can stack multiple fabric layers under the ruler—three layers worked well for me. Be sure your rotary blade is sharp for clean, accurate edges.
Once you’ve chosen your fabric colors and layout, assembling these hexies becomes quick and enjoyable. Two hexie halves will make one tree row.
2. Sew Your Hexies
Lay out the center and sides, pin and sew. Make a stack and chain sew these.


3. Sew Rows Together
- Sew each row of half-hexies using a ¼” seam
- Press the seams open, then sew the hexie rows together.
Add the Tree Bottom:
After you’ve sewn the number of center rows you want for your tree, rotate the final row as shown in the layout to form the tree base.


4. Add Top and Bottom to Trees
For Each Tree:
Tree Top: 6″ x 4 1/2″ – this is where the bigger star will sit.
Tree Bottom: 6″ X 2 1/2″ – this is where the applique pot will sit.


5. Add Borders
For One Tree:
- Add a larger width, 4 1/2″. This ensures that the house sits within the border. Measure the length of the tree.
- Cut one side border to fit.
- Sew the border on.
For Three Trees:
- Add 3 1/2″ by 19″. Measure your tree length before using my measurements
- Cut two borders at your measured length. Cut them both the same size!
I choose the smaller measurement if they aren’t the same. - Sew the borders on each tree.
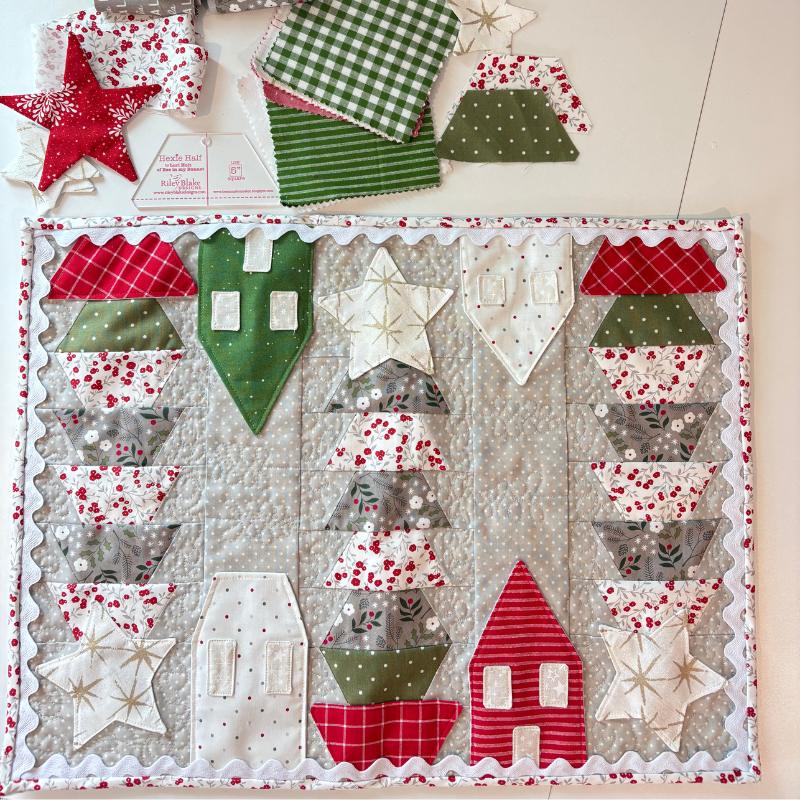
6. Finish Your Topper!
Layer the quilt. Start placing the appliqué. Remember that you are putting ric-rac around the edges, so place the stars accordingly. 1/2″ to to 3/4″ seemed fine. I would pin a few at a time to place and sew down with matching thread.
Appliqué:
My templates can be downloaded by members in the community forum here on JH. You can find the templates and post for help here. You are welcome to use them for this project.
Join the community here
Place and add the stars, houses and tree pots.

Making a Tree Pot: Use the half hexie ruler to trace one appliqué pot for under the tree. Trace the ruler on interfacing. Follow the applique method of choice. Make one for each tree.
Ready to quilt!
Add Ric-Rac:
I add ric-rac the same way I would add binding to the edge (continuous). In my roll there was a defect that I couldn’t hide so I had to cut the trim and proceed. It’s a good idea to check the trim before sewing.
Bind and slip-stitch your quilt, finished!
If you need any help, join the forum!
Make something beautiful today! Theresa

We love publishing our recipes, sharing and teaching sewing, knitting, embroidery and fun crafts. We’re glad you’re here!