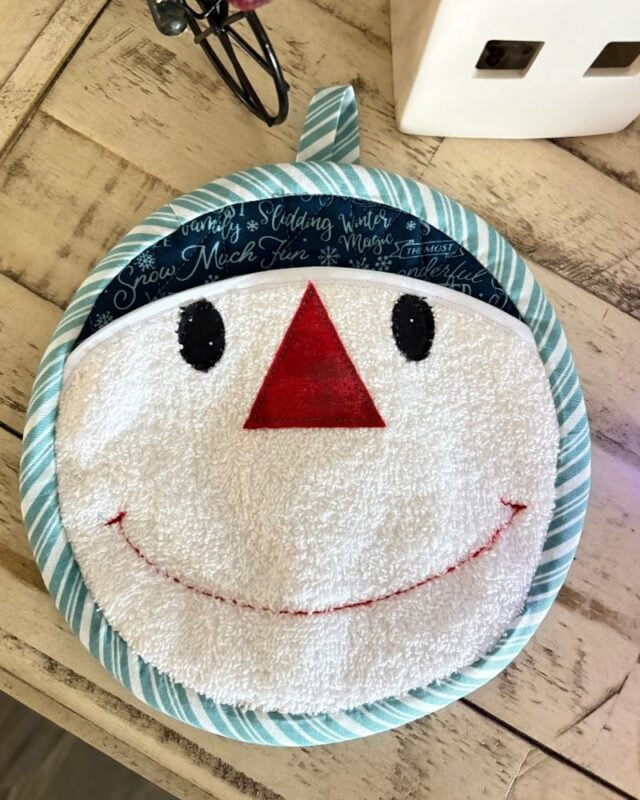
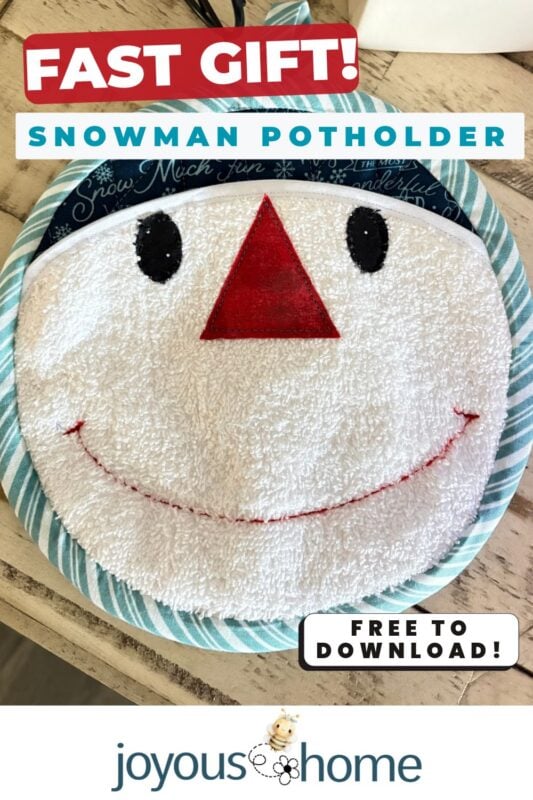
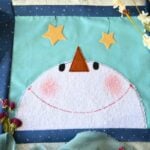
Looking for a quick handmade gift that’s actually useful and cute? This snowman potholder pattern will make anyone smile. It has a cozy terry cloth face, a comfy pocket, and a candy-striped edge. It’s easy to sew, and completely functional when using the correct insulation. Best of all, you can grab the printed instructions and my templates if you’re a newsletter subscriber. Follow the step-by-step photos below, and grab the pattern at the end of the post.
Why This Snowman Potholder Makes a Great Gift
- Beginner-friendly project with simple shapes and no tricky piecing
- A great way to use up fabric scraps
- Quick enough to make several at once for gifting
- Functional décor that looks cute all winter hanging next to the oven
Gather What You’ll Need
Decide what size you want your potholder. Mine is 8″. Seam allowance is 1/4″.
Fabric and Cotton Batting – You’ll need a front face, face back, back, middle and binding color.
- Face Front – One 8” fabric square terry cloth or white cotton for the partial circle template
- Face Back – One 8” fabric squares – for the inside face back (partial) (Links to our fabric!)
- Back/Middle – Two 8” squares for the full circle template
- 12″ 1/2″ White Double Fold Bias Snowman Top
- 1 yd. 1″ Double Fold Bias Binding
- Fabric Scraps Snowman Face – black, orange/red
- Red Wool Thread
- Black Thread
- Cotton Batting or Insul-Bright®
- Heat n’ Bond®
- Potholder Pattern Templates or Draw Your Own
- Sewing Machine, cotton thread
Get Started Making the Snowman Potholder Pattern!
Prepare Fabric – Print and Cut Two Potholder Pattern Templates
Print two potholder pattern templates. Then cut out a partial and full to use.
Press Heat n’ Bond on the back of your fabric scraps for the eyes and nose.
Trace the eyes and nose onto the bonded fabric. Or, rough cut them out, pin to the bonded fabric and cut. Set those aside for now.
Layering the Potholder Pattern Fabrics
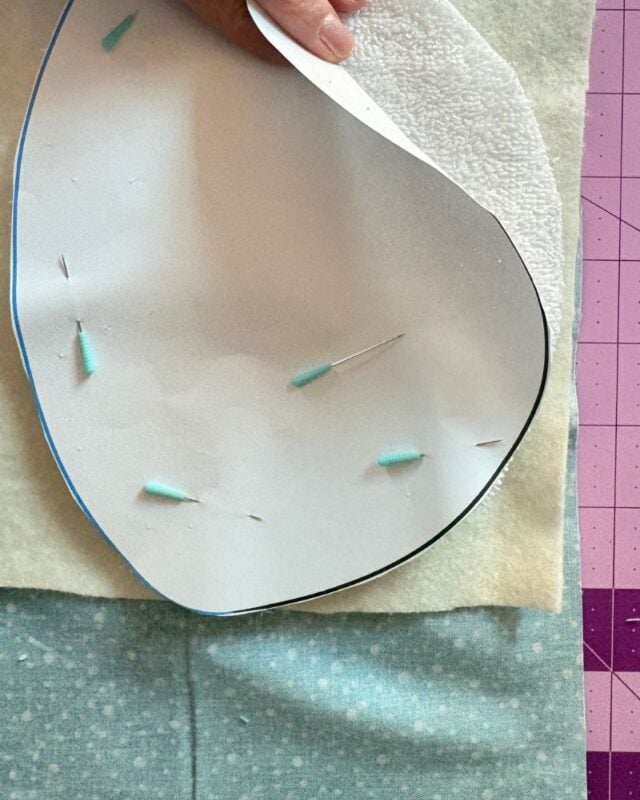
1. Partial Circle Potholder Pattern – (Blue Line on Template)
Terry Cloth, Batting, and Face Back
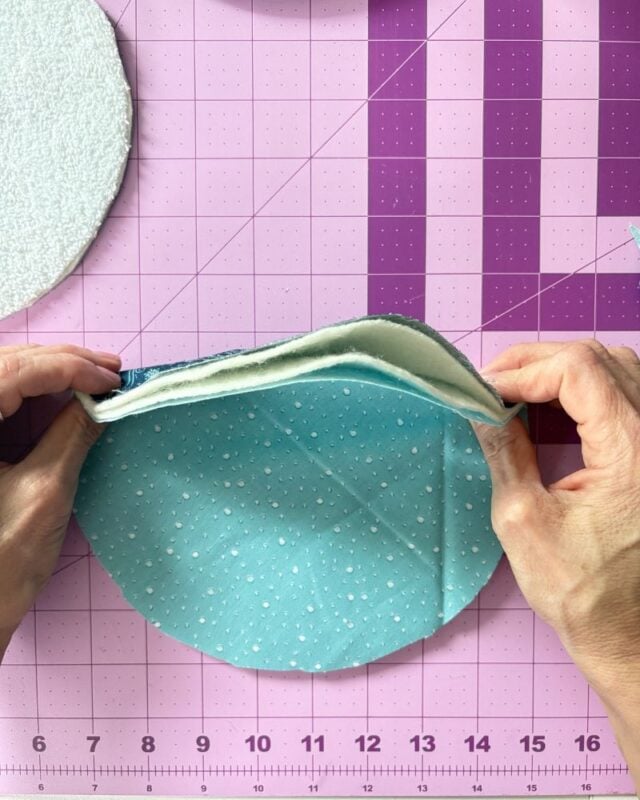
Pin the layers of fabric for the snowman face together in this order: Face back right-side down, batting or Insul-Bright®, terry cloth. Place the template on top and cut around the solid black line. I had already cut out the face in the picture, and realized it was quicker to layer all of them. Remove the paper, and pin or clip together. Do a quick basting stitch around the outside, if desired.
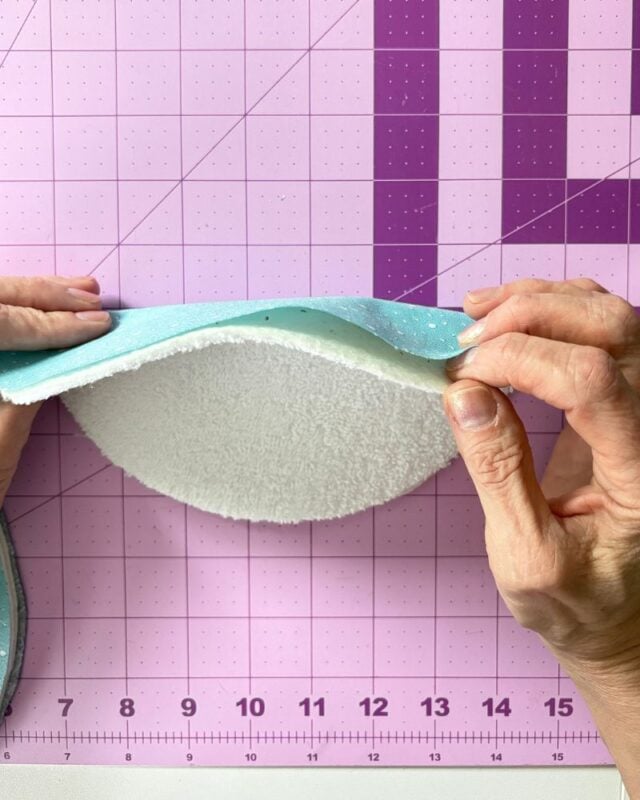
2. Full Circle Potholder Pattern – Back, Batting, Middle (Inside Top Back Layer)
Repeat the layering for the full circle in this order: Back, 2 layers of cotton batting, or Insul-Bright®, and inside middle layer on top. Pin the potholder pattern in place, and cut out. You will sew a grid on this so no need to baste.
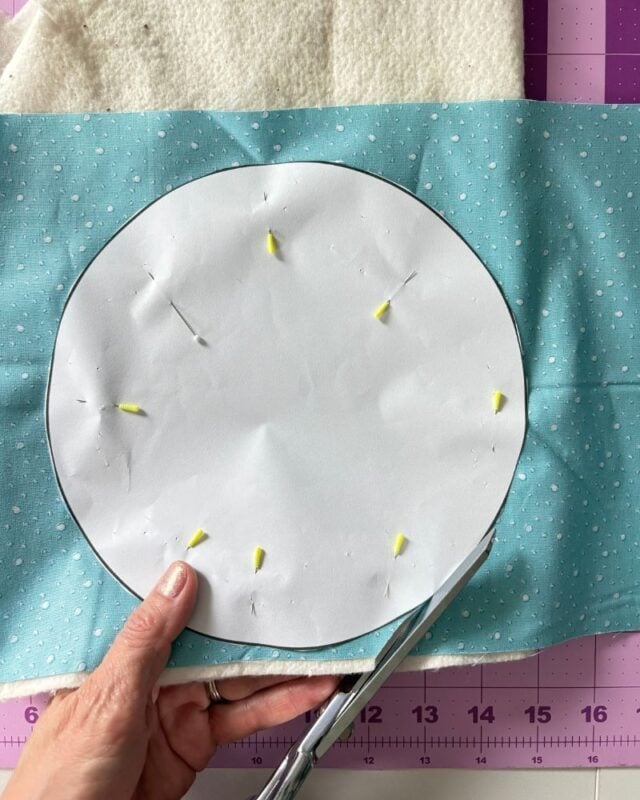
3. Sew 1/2″ Bias Binding to Snowman Top
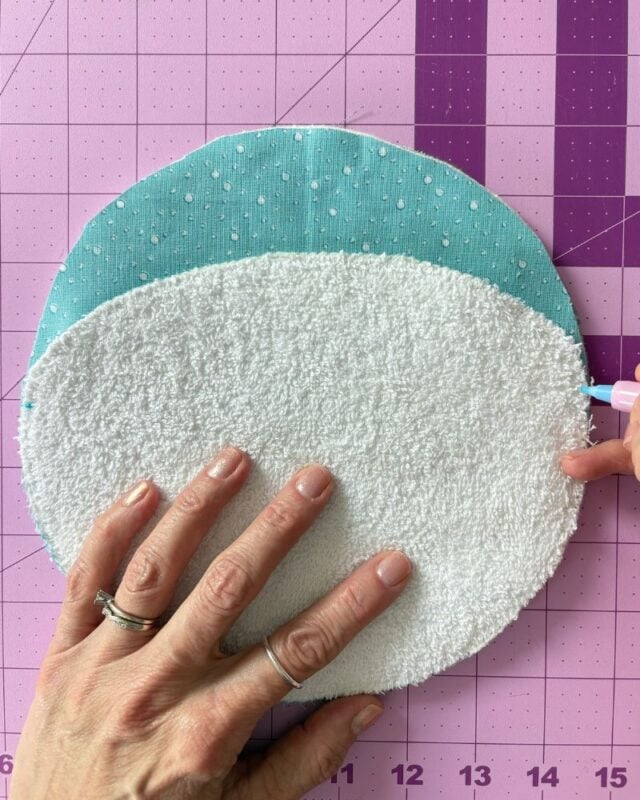
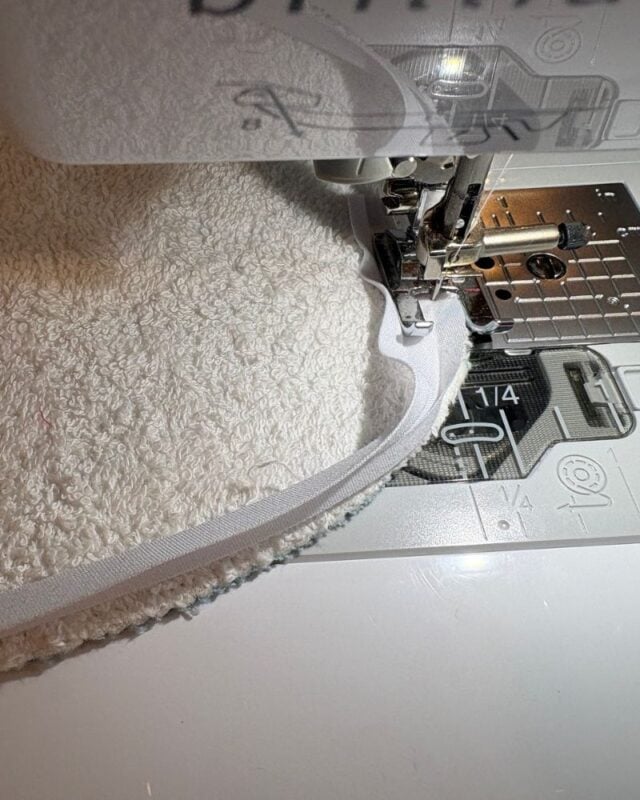
First, lay your partial circle on the full circle and mark where to stop with the binding. Open the binding and use the fold line as a guide. Sew the binding in place, starting at one mark and stopping at the other, making sure there is a 1″ hang over under the mark at both sides. Fold over sew down on the back.
4. Arrange the Snowman Face
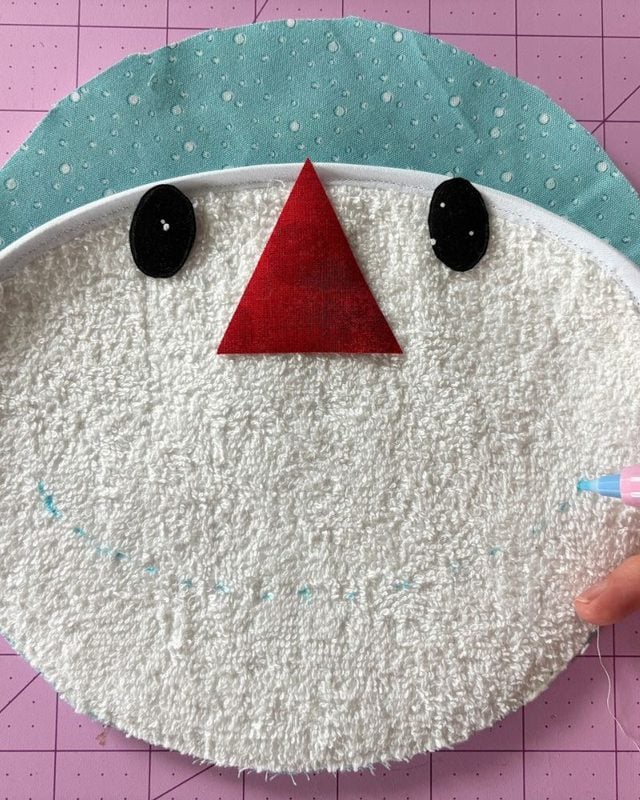
Arrange the snowman face and iron down. Stitch down each piece on the inside edge in a matching thread.
To make the smile, lay the circle bottom edge of the template upside down on the terry cloth, and trace the smile – or just draw it on. Machine stitch the smile, with a length of 3, and use red wool thread 12wt. I also stitched a few black eyelashes by hand, with black embroidery thread. Set the face piece aside.
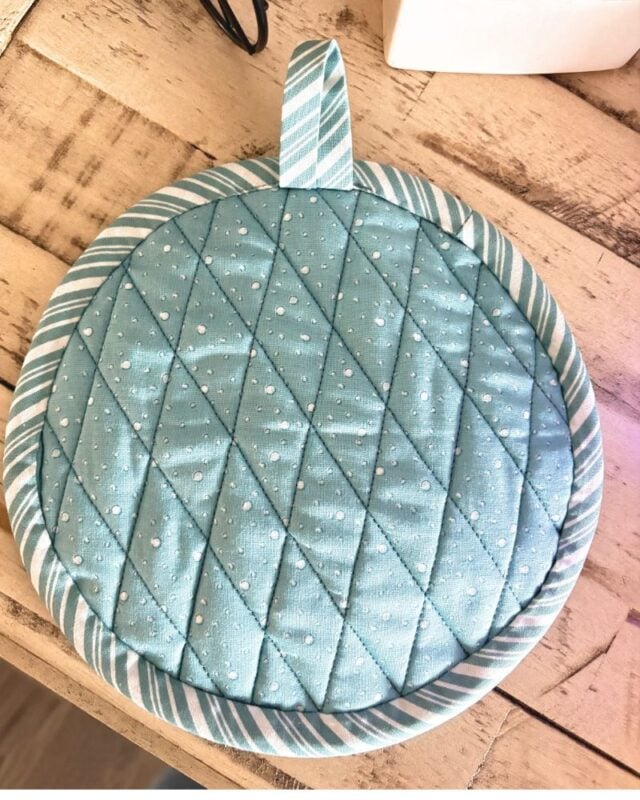
5. Quilt the Grid on the Snowman Potholder Back
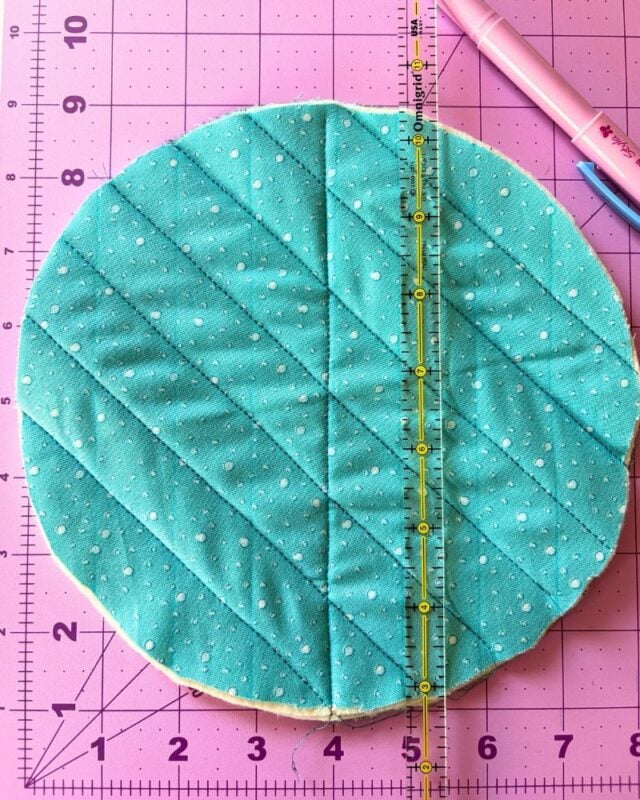
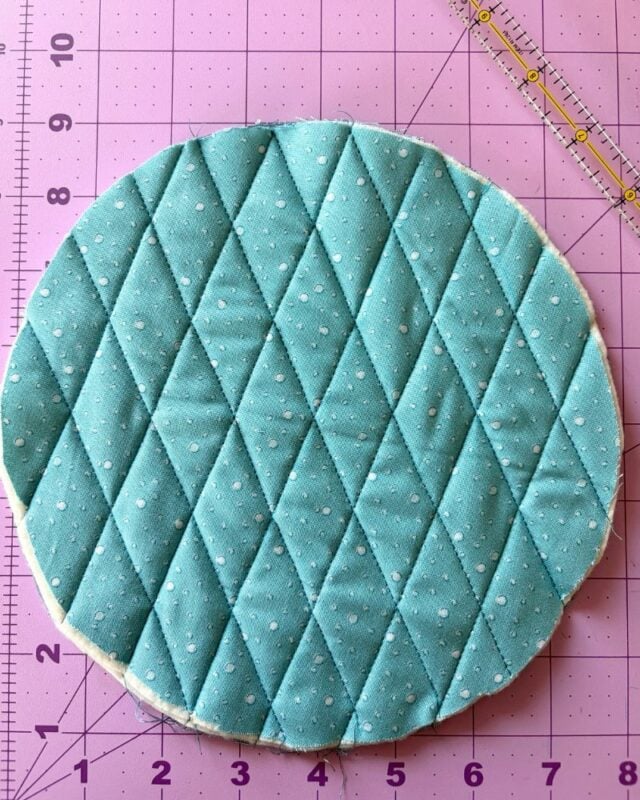
Pick a matching thread for your fabric, be sure your bobbin is matching, or the color you’d like to show. Find the center of the potholder. The circle is 8″, so I simply placed it on my cutting mat and drew a straight line 4″. I measured 1″ lines. I sewed the first line then went and marked again so I could see the diamond shape.
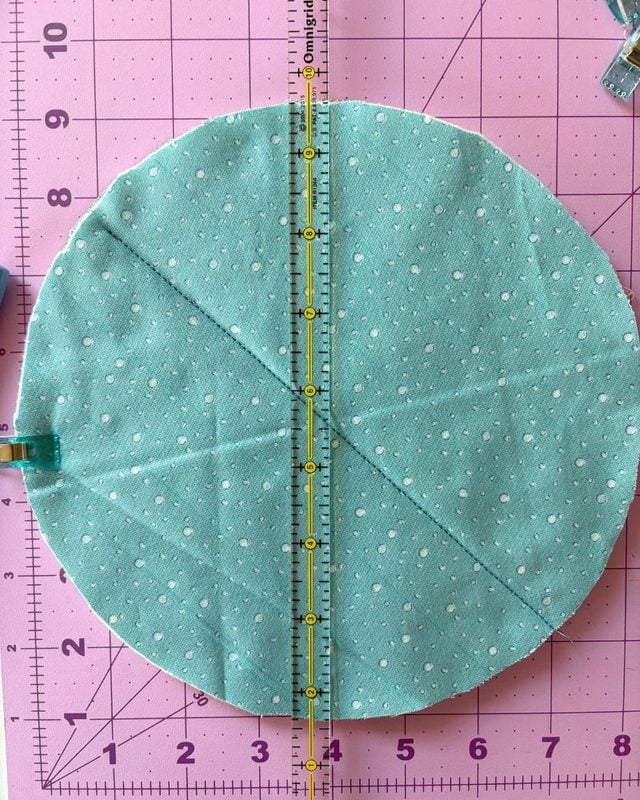
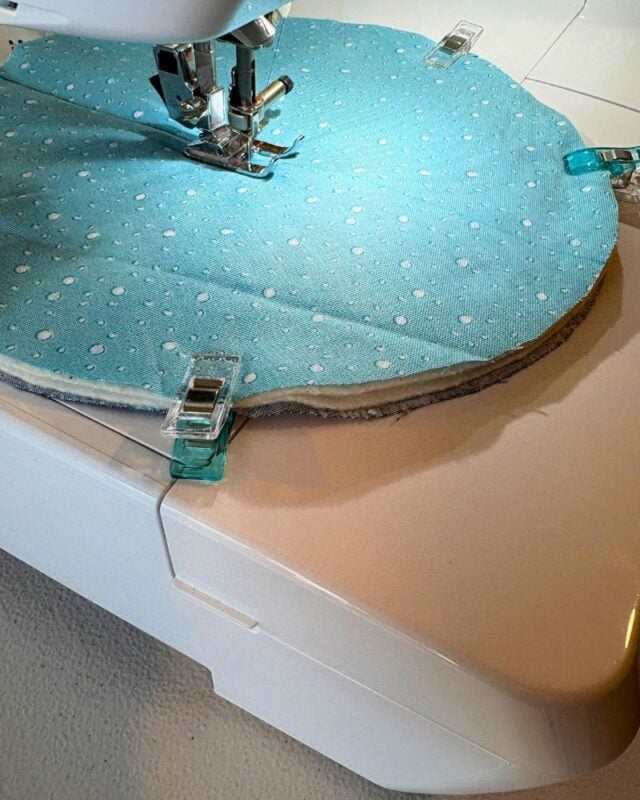
If your backing has a design, like wording, make sure you mark your lines so they show the way you’d like. Same thing to remember when placing the snowman face on – make sure your design isn’t upside down.
6. Make Bias Binding, and a Quick Loop from the Bias Fabric
I made my own double-fold bias binding using a 2″ strip. Just fold the strip in half, open and then fold both long edges in to meet the center fold. Learn to make your own or just buy 1″ double-fold bias binding.
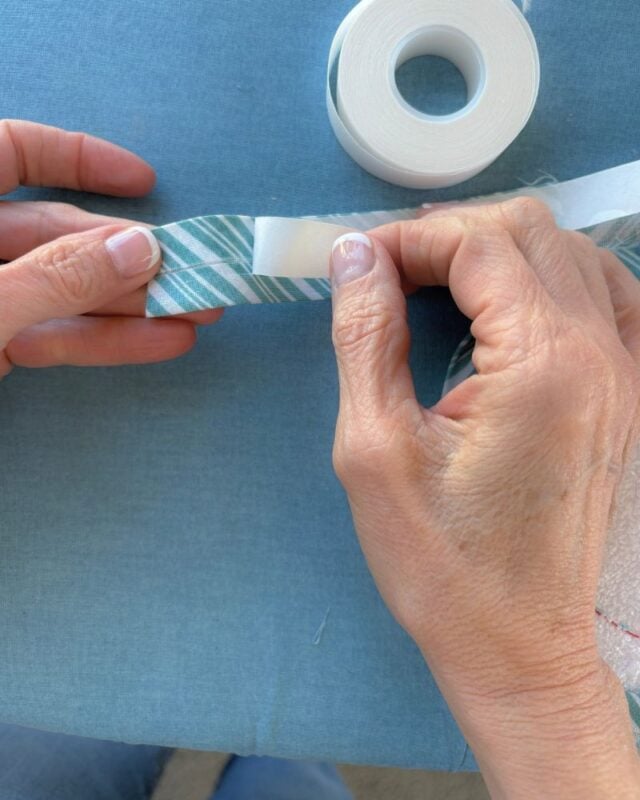
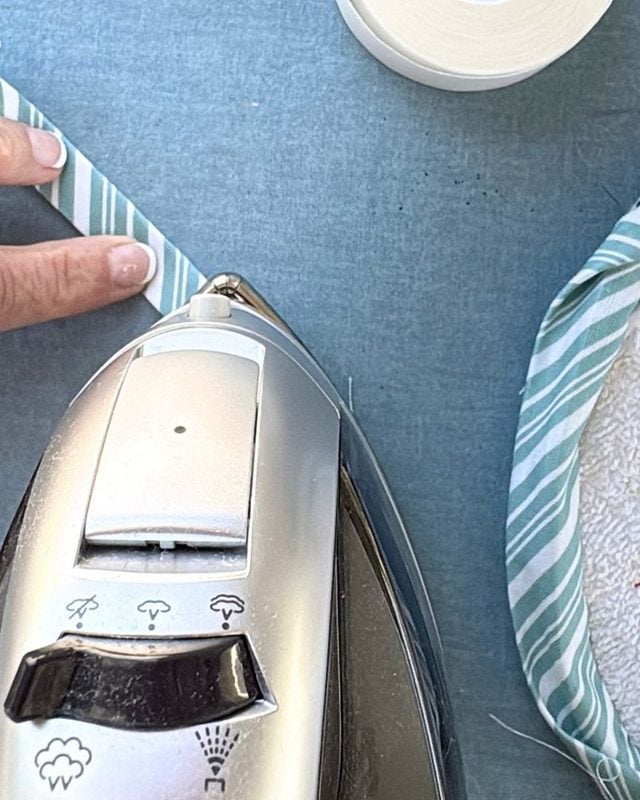
Using a fusible web tape, follow the product directions to apply the tape to one edge. Don’t open the edges, just press back in half. Cut to the desired loop length size. Set aside for the next step.
7. How to Attach a Potholder Loop
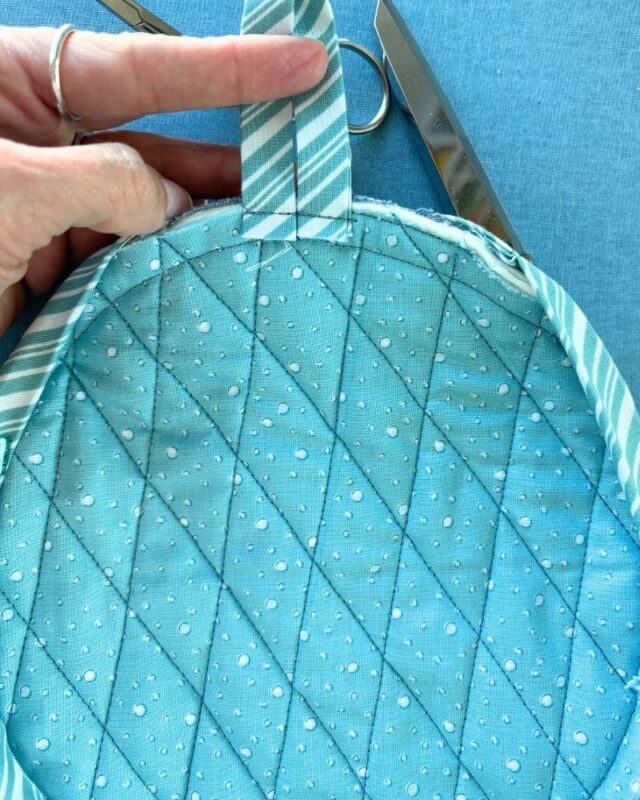
There are two ways you could attach the loop. *The first way is to place one end centered under the front bias binding before sewing it on, then folding over to the back and under the bias when finishing.
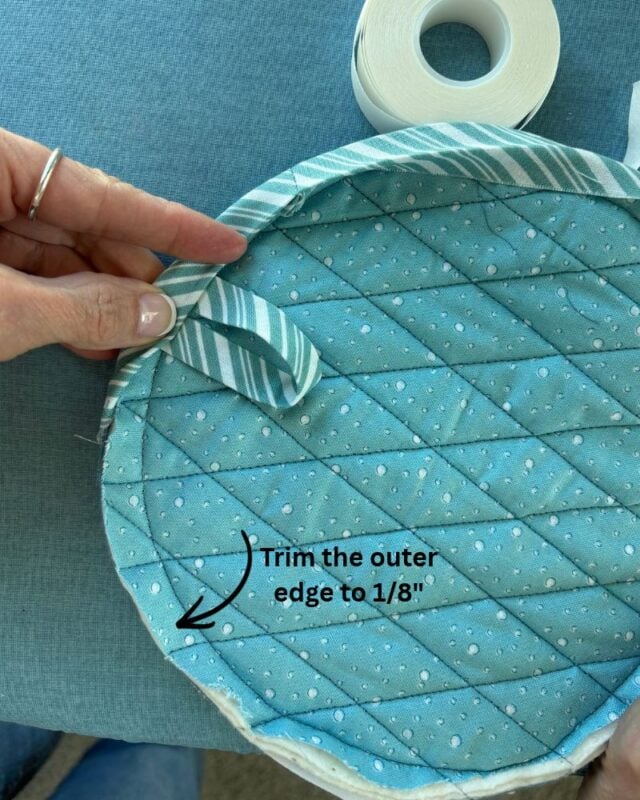
The second way is pictured below. Simply place both ends under the back, (stitch or glue in place if desired), before sewing the back binding in place.
8. How to Add the Bias Binding to Assemble the Snowman Potholder
(*If you want the loop to fold over the top, place it under the bias now, then fold over to finish sewing under on the back)
Place the snowman face on the back layer. Make sure it’s lined up with any directional fabric on the back. Even up, and start clipping the bias binding leaving a 5″ or so tail from where you want to start sewing.
Start sewing, follow the fold. Stop a few inches from where you started, leaving again a tail. Hold the tails together mark and measure 1/4″ up. Cut across the 1/4″ mark.
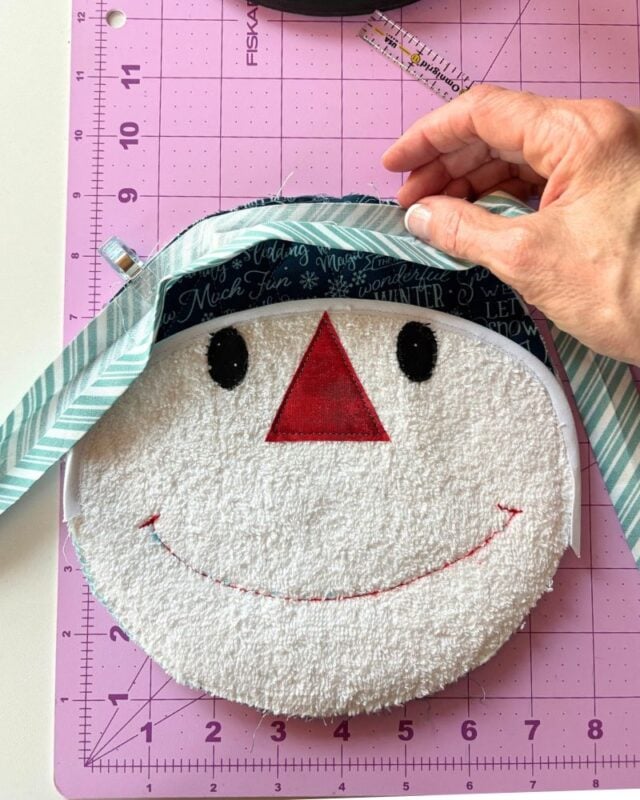
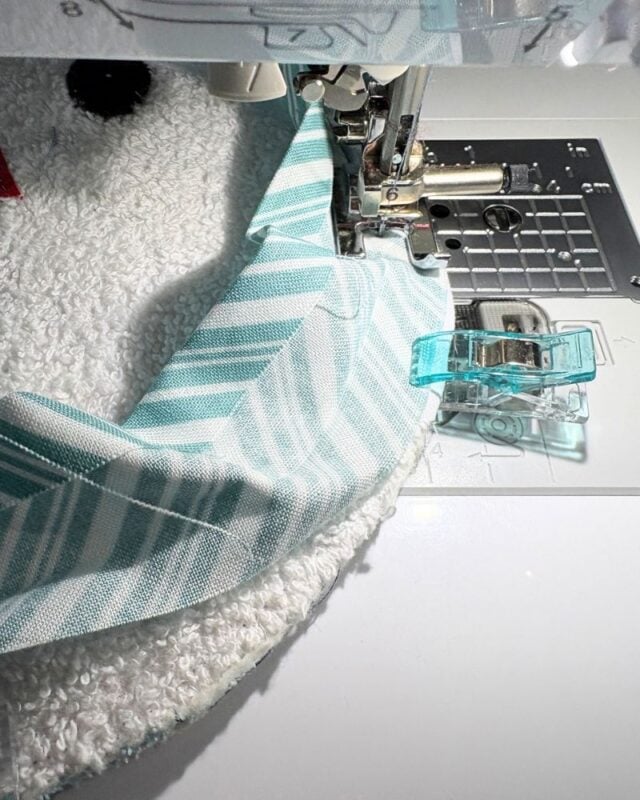
Turn the right sides together and sew a 1/4″ seam. Now, it should lay flat, and you can finish sewing the binding down.
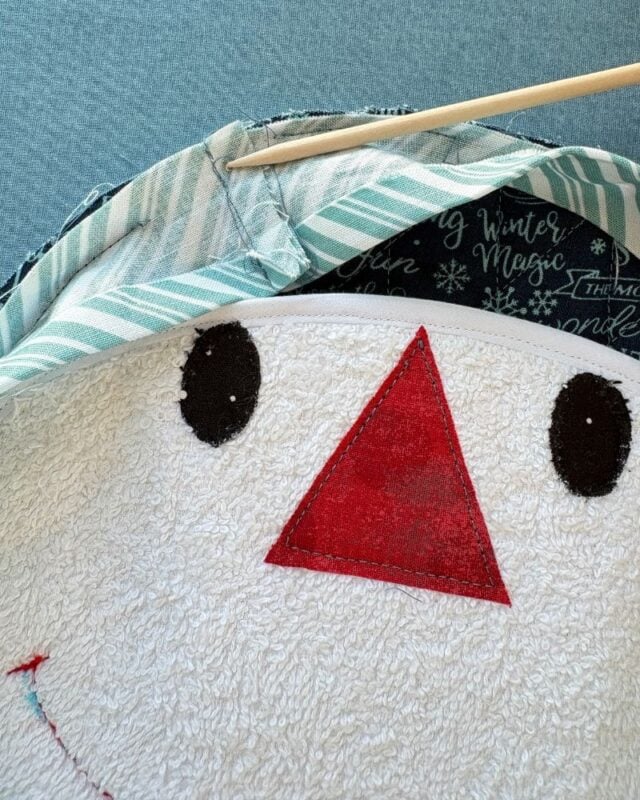
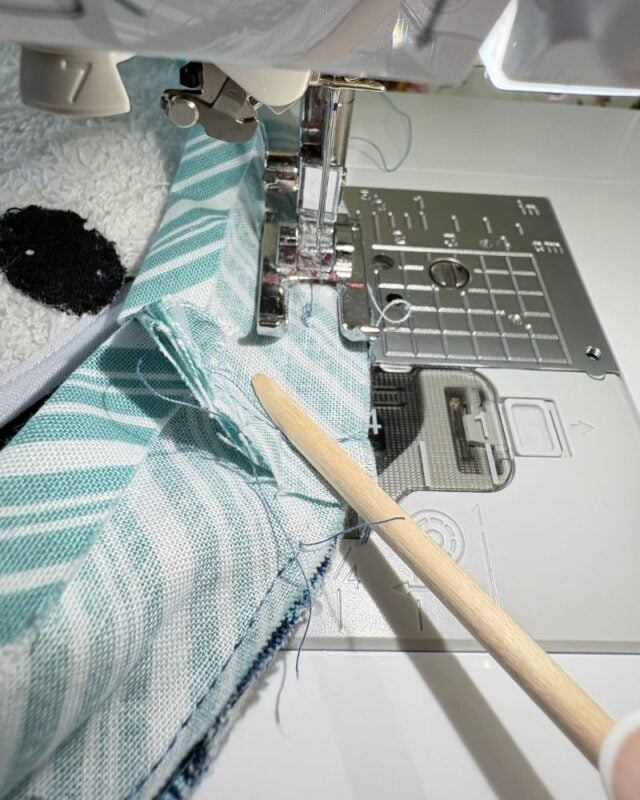
Trim the seam allowance down to 1/8″ if needed, so the binding when pulled around goes over the seam line. Add both ends of the loop, centered, and stitch in place before you pull the binding over – OR the bring the other end from the front around to the back and tuck under the binding.
9. Flip the Binding to the Back, Finish the Potholder Pattern
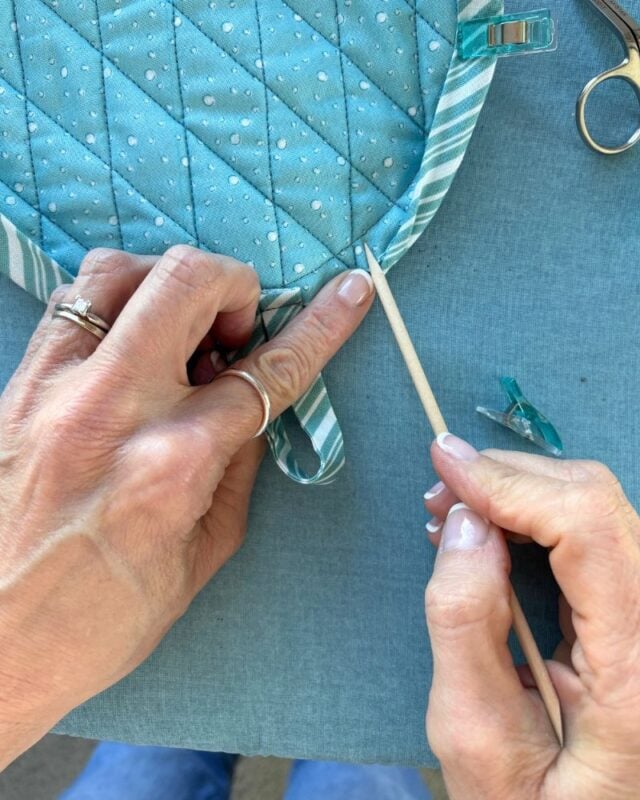
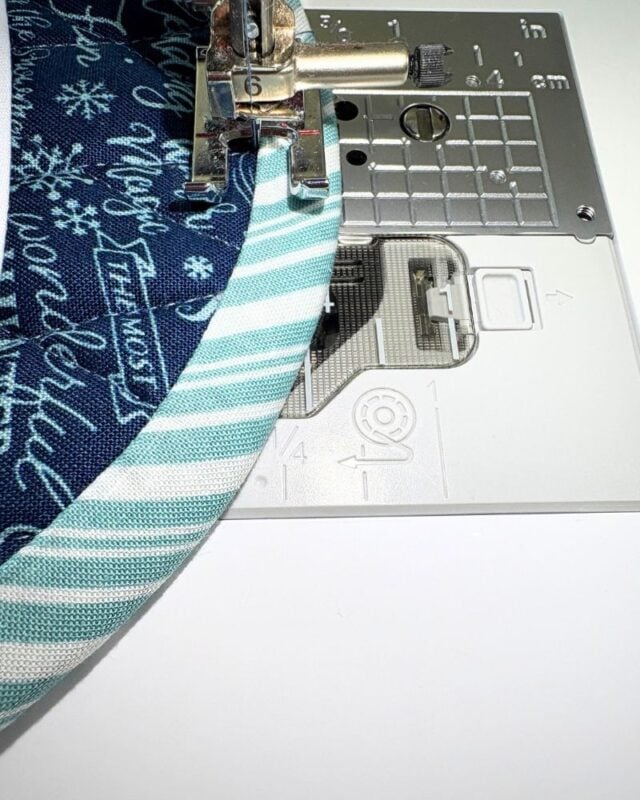
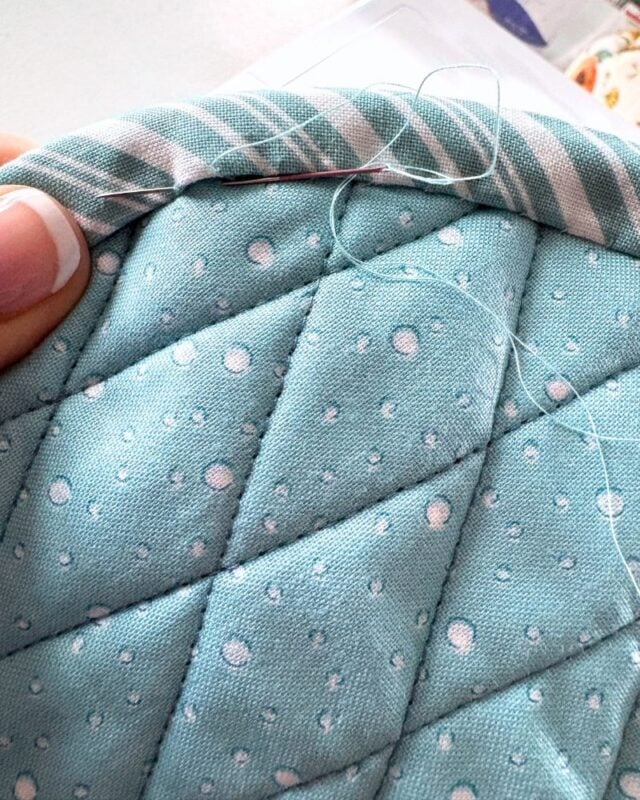
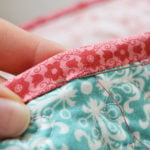
Flip the binding over to the back. You can either top stitch all the way around, and if your binding is over the seam line you should catch the back. OR slip stitch the backing in place if you’re not confident. (I’m not always confident!)
Slip stitching the backing will prevent thread from showing and give a neater appearance.
You’re finished! How easy was that?
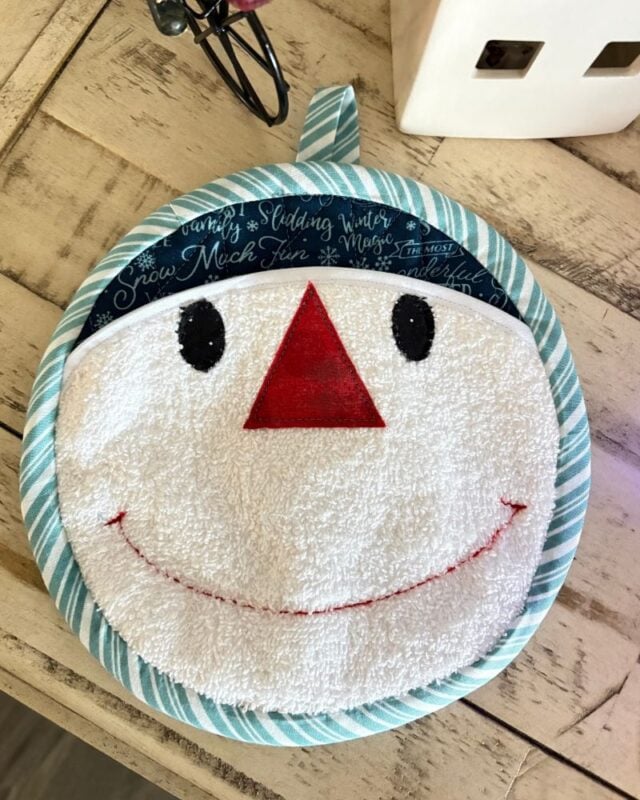
Want make your snowman potholder faster?
Get the printable instructions with the templates!
Enjoy making many of these snowman potholder patterns for your friends! Theresa
Related Posts


We love publishing our recipes, sharing and teaching sewing, knitting, embroidery and fun crafts. We’re glad you’re here!